You ordered your customized plexiglas piece. You eagerly awaited it’s arrival. Finally, you open the door to a big cardboard box. What now?
You may be excited to have received your unique Plexiglas print, but you may also be experiencing difficulty moving your Plexiglas piece from a box on your doorstep to an artwork on your wall.
I’d like to help facilitate this process. Follow these 10, easy steps to unwrap a fresh, new look for any space.
Before you begin, it may be helpful to note that you will need scissors, an open space, and possibly another person to help you.
1. Clear a space. This box in which you will receive your Plexiglas piece is big, and the artwork itself is even bigger. Give yourself room to unwrap the piece.
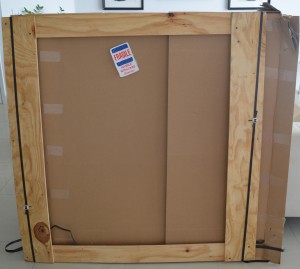
When you receive your box, it will look something like this.
2. Cut through the tape that holds one side of the box together.
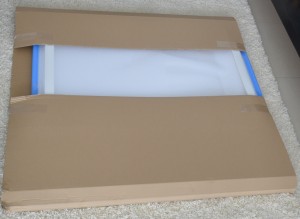
3. Open the flaps that conceal the work within the box. Inside, you will find a smaller box of cardboard, which is wrapped around the artwork itself.
4. Hold the wings of the unwrapped side of the box open, and pull the smaller cardboard box out of the larger cardboard box in which it is wrapped. This may be a two-person job. To make this easier, have one person pull the smaller, inner cardboard box, while the other pulls the larger, outer one.
5. Lay the smaller cardboard box on the floor, in your open space, making sure to keep the side completely covered by cardboard facedown.
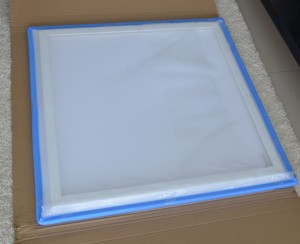
6. Open the flaps of the cardboard that are holding the artwork, to expose all of the bubble wrap. Once you complete this, you will find the artwork to be wrapped in bubble wrap with foam securing the edges.
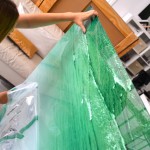
7. Take off the tape that seals the bubble wrap around the Plexiglas piece. You will find this around the edges of the painting, just before the foam on the edges.
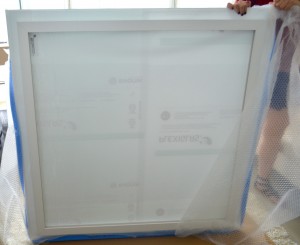
8. Remove the bubble wrap from the Plexiglas piece. At this point, it may help to carefully bring the painting upright, so that the bubble wrap can be removed from the entire work.
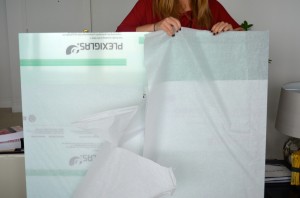
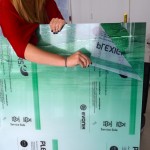
9. Remove the sheet of paper that covers the front of the artwork. This will expose the plastic layer that protects the Plexiglas from scratches.
10. Carefully peel this protective layer from the surface of the artwork. It helps to begin at one corner, and then to work your way down and across the work. Be careful not to scratch the work during or after this process.
Once these steps have been completed, your Plexiglas piece will be ready to hang! Attached to the back of the piece of Plexiglas, you will find a wooden frame that should be used in order to hang your work of art.
Unwrap the crisp clarity offered by any Plexiglas artwork to brighten up your space.


